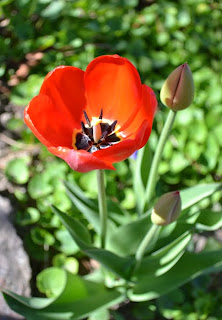


1. Aiden; 5/14/2011, 5:19 pm; Rexburg, Idaho; f/4.5; 1/500 sec; Nikon D3100
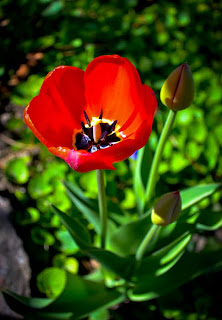
2. New Bloom; 5/13/2011, 11:30 am; Rexburg, Idaho; f/5.3; 1/640 sec; Nikon D3100.
My mom's tulips finally decided to join the daffodils in blooming. I thought they looked really neat with the black centers. I adjusted the saturation, contrast, and blacks using Camera Raw. I used an adjustment brush a little on the petals, although they were quite bright already. I used a vignette to help focus the attention on the flower.
Sarah,
ReplyDeleteI like your Aiden picture in camera raw. You did a superb job and created warmer colors. Also it helps to give a lot of depth back into the picture so that it does not look flat. One thing that i would suggest that really is not a bad thing but you can play with it to see what effect it would give is taking it as a smart object in photoshop. Once there take the brush and try taking the flowers that haven't bloomed and make them lighter like in the previous picture. I like how it is as it makes me feel like the big flower is the mother in the way the shadow is cast on the others. Nice job.
Daniel Ard